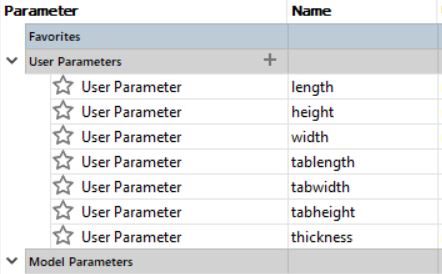
AutoCAD and Librecad
|
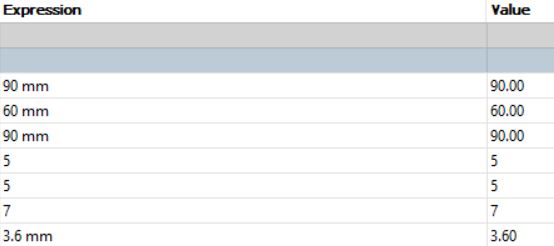
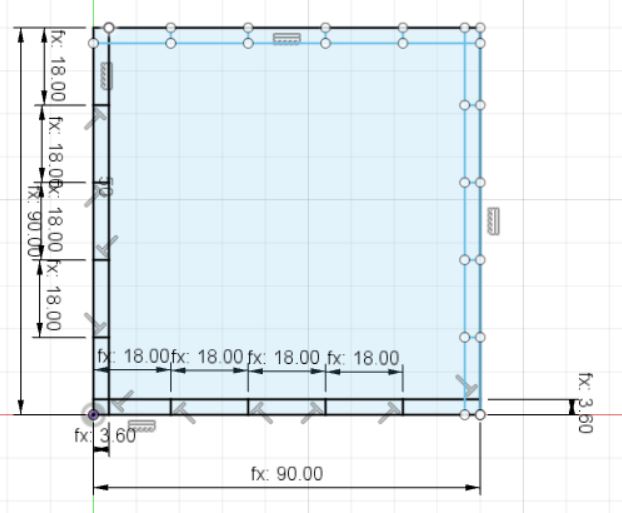
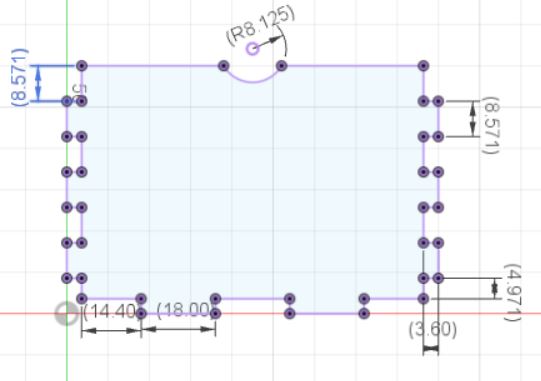
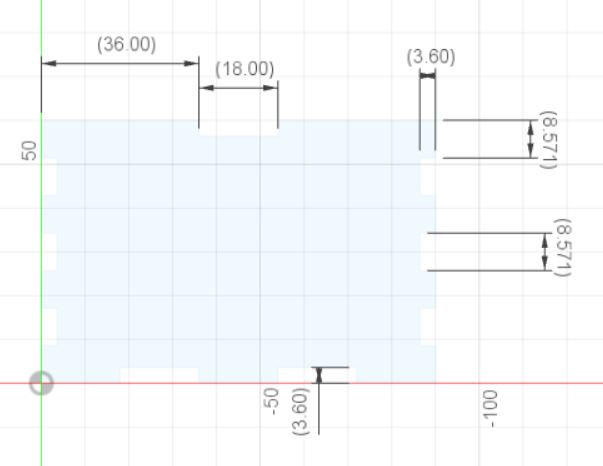
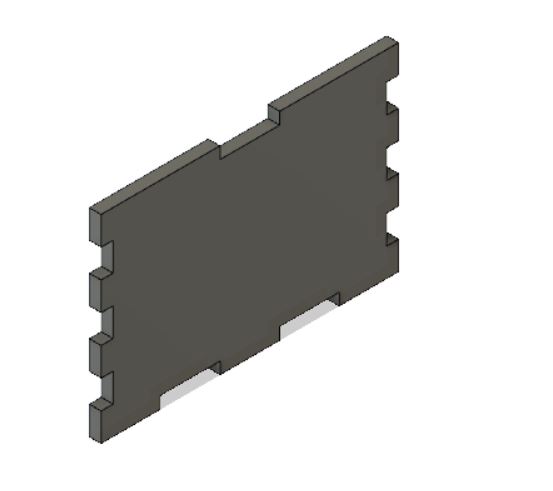
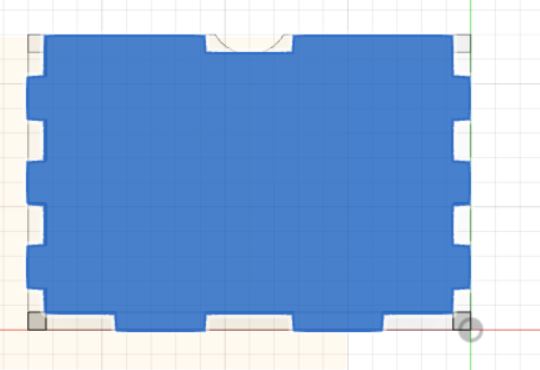
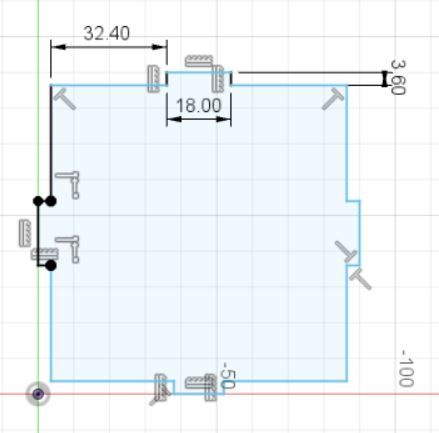
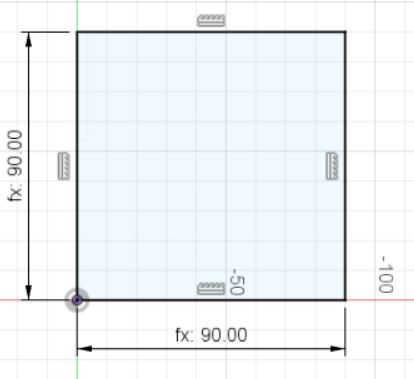
For this part, we were tasked to create box with a lid using Autocad to design and generate the box and using Librecad to plan the laser cutting. To start it off, using Autocad, I created a new component for the bottom piece. For every part, there is a need to select create new component to ensure that all the parts are separate pieces that may be edited or altered later individually. After that, i set my dimension perimeters in the modify setting to ensure that in later future, should i change the thickness or dimensions of a part, the rest will be ratiod accordingly to prevent any missizing. When starting the next piece (front, back etc, always choose the surface on the previous piece to be sketched on. This ensures that the pieces are linked together and connects together. To show an example for sketching of the bottom piece, I always start with a rectangle, and then i create the tabs(the "fingers" that connect the pieces) with the thickness. I then created lines according to how many tabs i wanted. Usually i create the bottom and left part first, and to save time, i create a line in the middle of the rectangle, and mirror the dimensions to create the opposite side with the same dimensions. Then i remove any excess lines and sketch again as needed. The dimensions are as below for perimeters and also the sketch for the bottom piece:
| |||||||||||||
| |
|||||||||||||
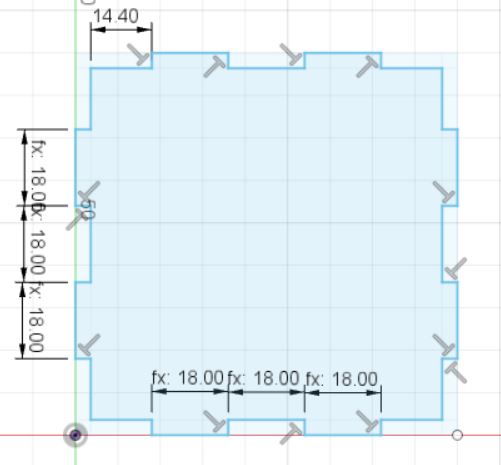
I then proceed to create the front part as follows, using the bottom piece as my reference for the plane i want to sketch on. I did the sketch similarly as above and ended up with the below pictures. It is extruded at 3.6mm as per the thickness for all parts. |
|||||||||||||
| |
|||||||||||||
 |
 |
||||||||||||
| |
|||||||||||||
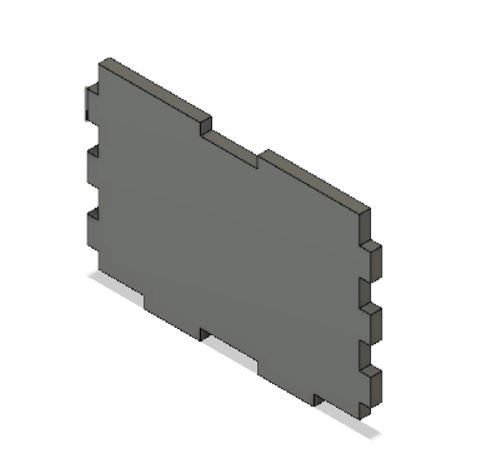
After this, i created the left piece with the same steps as the previous parts. |
|||||||||||||
| |
|||||||||||||
 |
 |
||||||||||||
| |
|||||||||||||
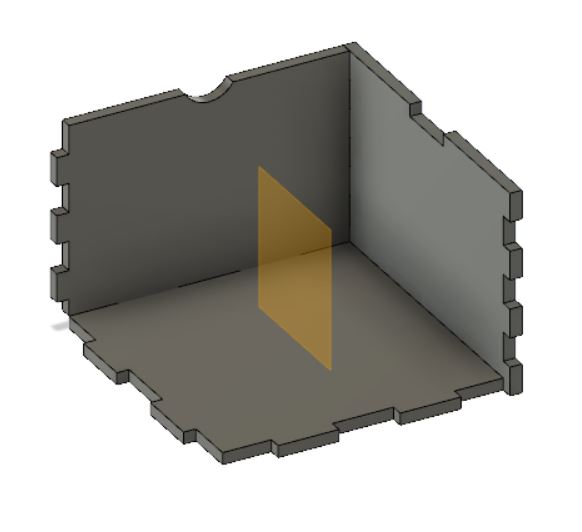
To save time from sketching the opposite sides (back and right), I constructed a midplane. A midplane is a plane that can be created manually by choosing 2 surfaces of previously made parts. For example, i created a midplane using the surface of the left piece and the surface of the bottom piece's surface (at the end of the tab). This midplane will be used to generate the right piece using the mirror function. I then created another midplane to create the back piece by using the front piece. |
|||||||||||||
| |
|||||||||||||
 |
 |
||||||||||||
| |
|||||||||||||
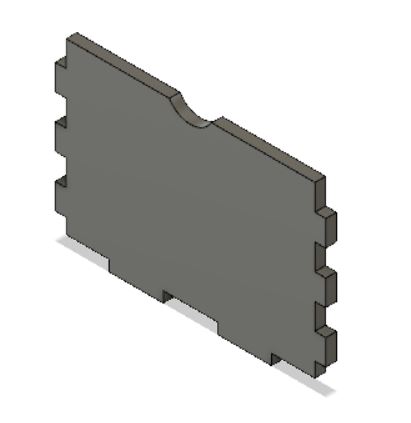
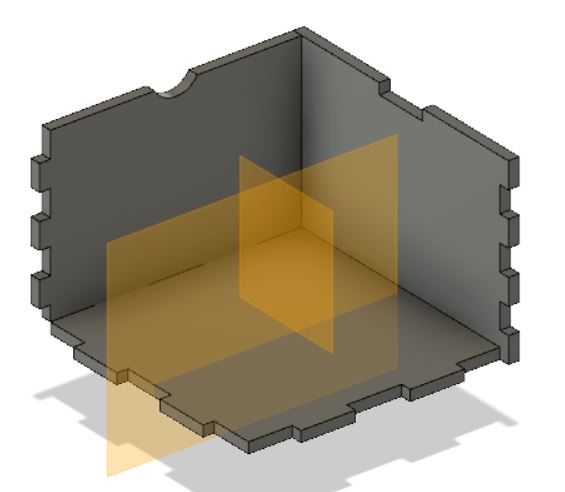
After creating the plane, i then proceeded to create the mirrorred component. I selected the component to mirror to the opposite side (Left to create Right and Front to create Back). The component for the opposite side should be generated then. As for the back part, I want it to not have the arc, so i'd have to select the Back component and create a new sketch on top of it. I created the sketch and then finished it. I deleted the body for Back and then extruded the newly created sketch to the given thickness. |
|||||||||||||
| |
|||||||||||||
 |
 |
||||||||||||
| |
|||||||||||||
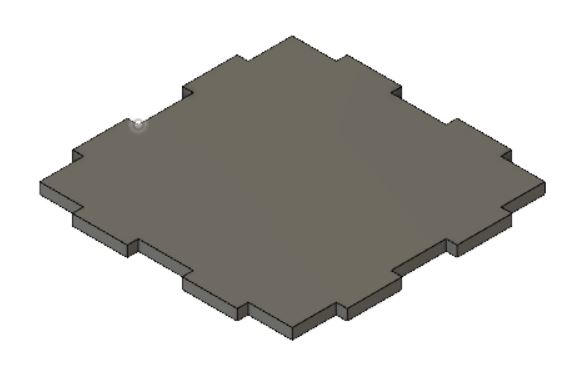
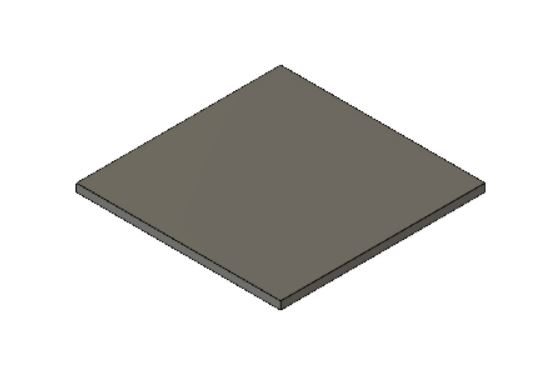
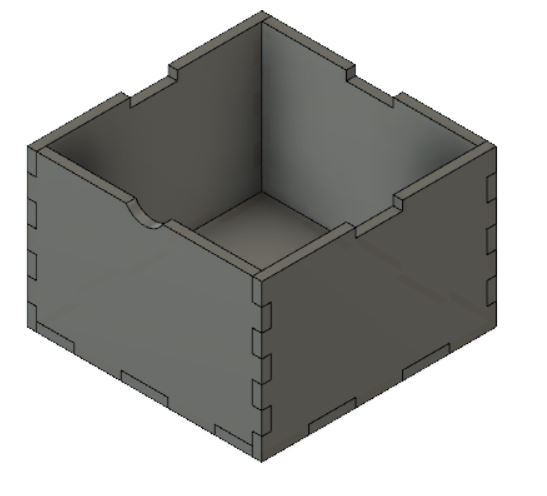
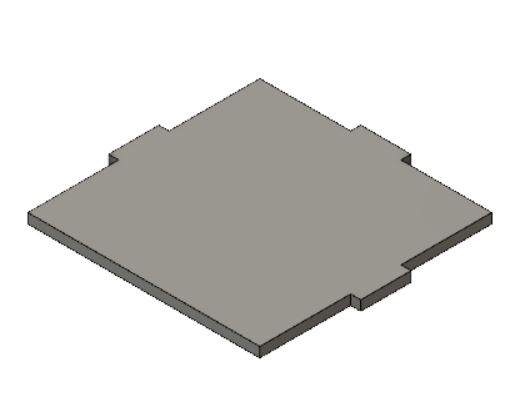
The box without the lid should look like below. Now we just have to create the lid. The lid i wanted to make has 2 parts. One with the tabs and the other, just a flat piece. Create a new component for each part of the top, starting with the one with tabs, create a sketch as below and extrude it to the thickness after each sketch: |
|||||||||||||
| |
|||||||||||||
 |
 |
 |
|||||||||||
| |
|||||||||||||
 |
 |
 |
|||||||||||
|
|||||||||||||
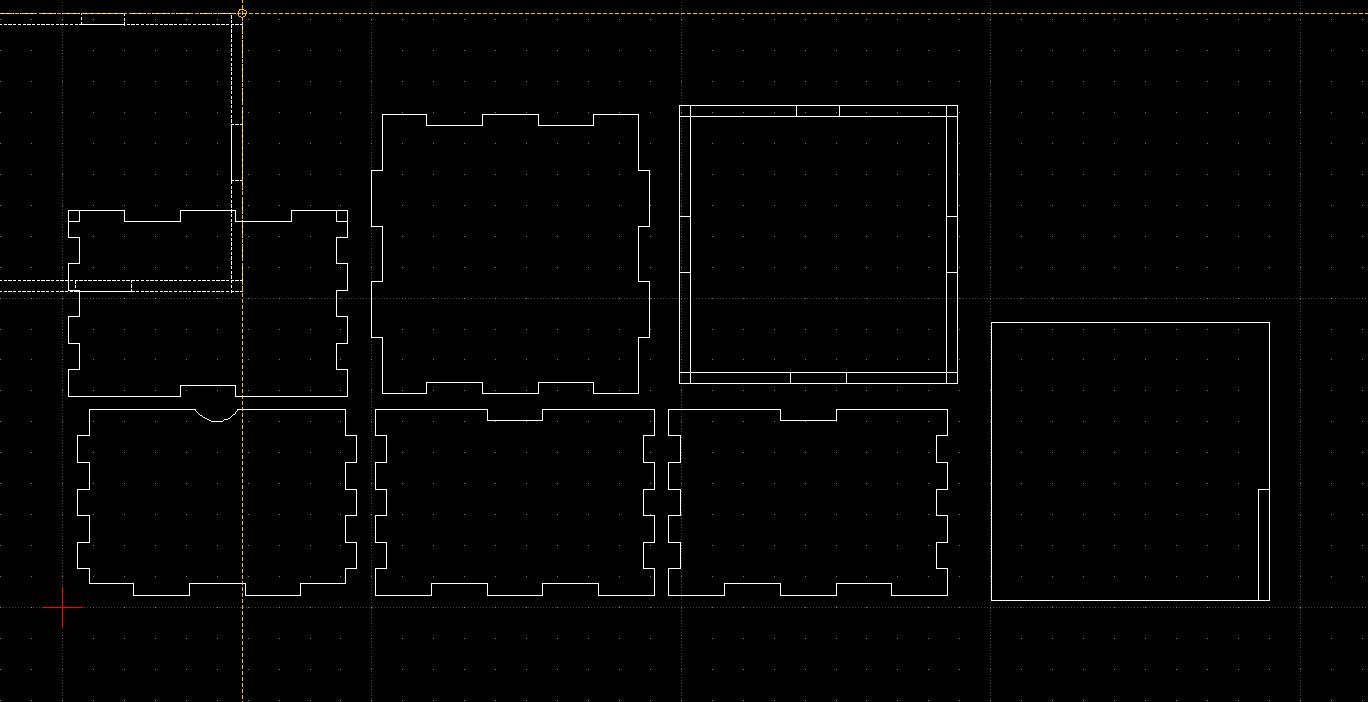
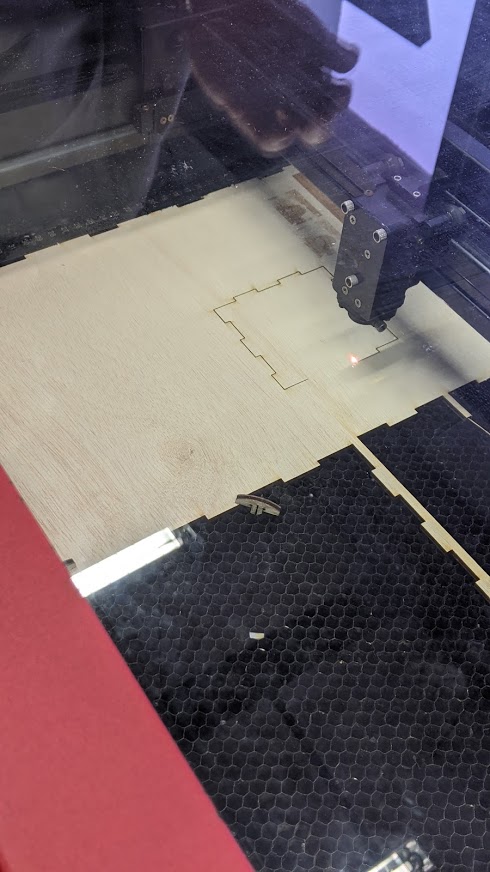
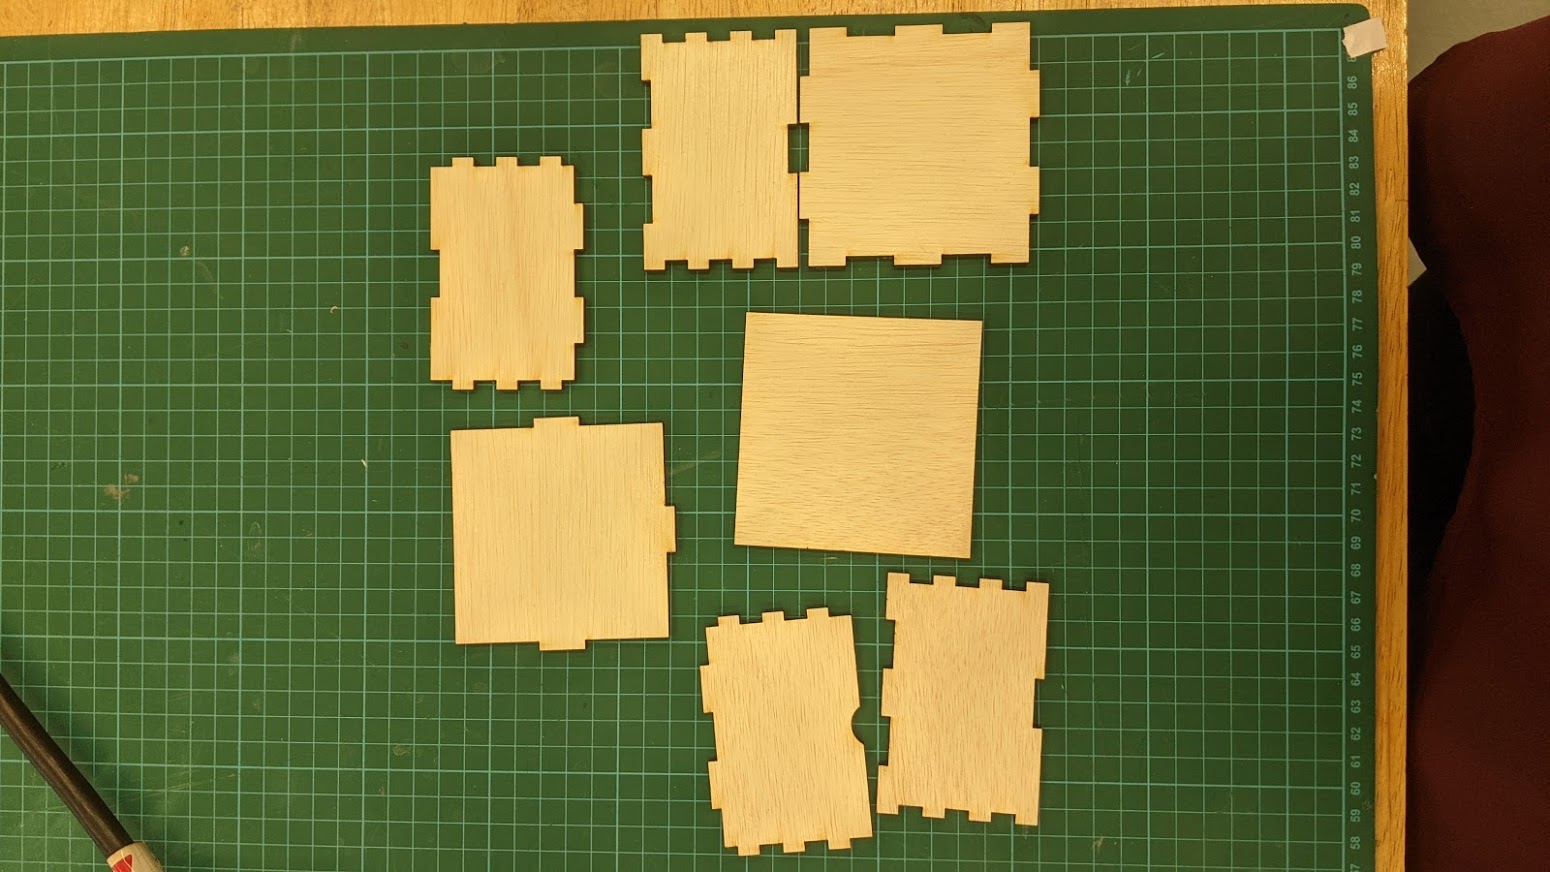
The box is finally done! Now to bring it over to Librecad. We have to export each sketch as DXF, so there'll be 7 in total, as there's 7 pieces. Once exported, open librecad and import each dxf piece as a block. Once all the pieces are there, proceed to laser cut in the FabLab. The pieces are as below. |
|||||||||||||
| |
|||||||||||||
 |
 |
 |
|||||||||||
| |
|||||||||||||
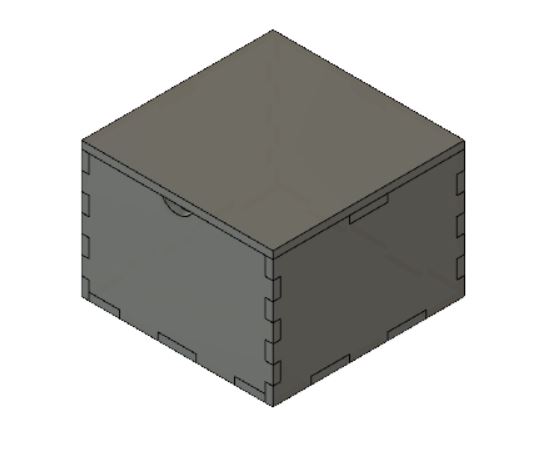
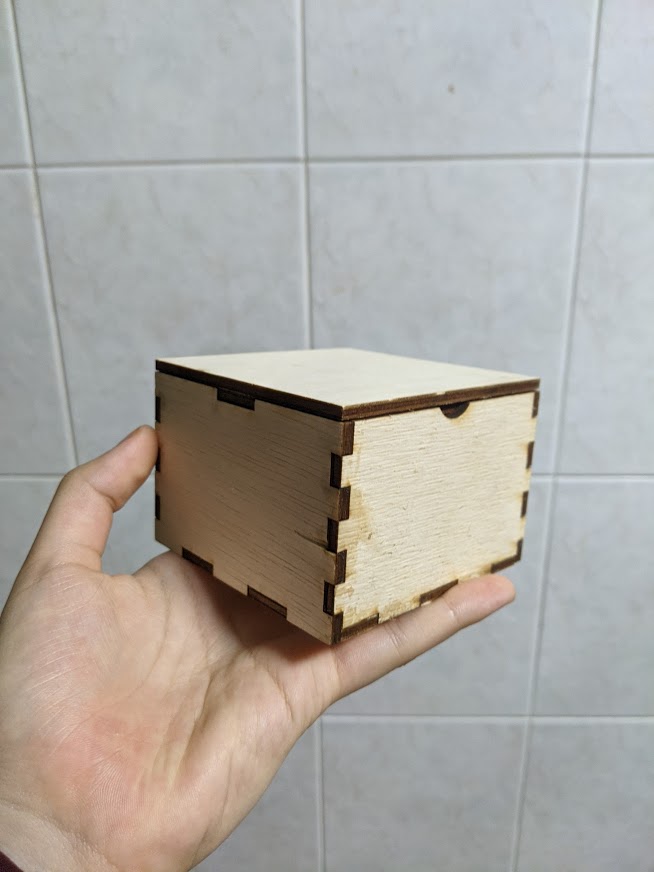
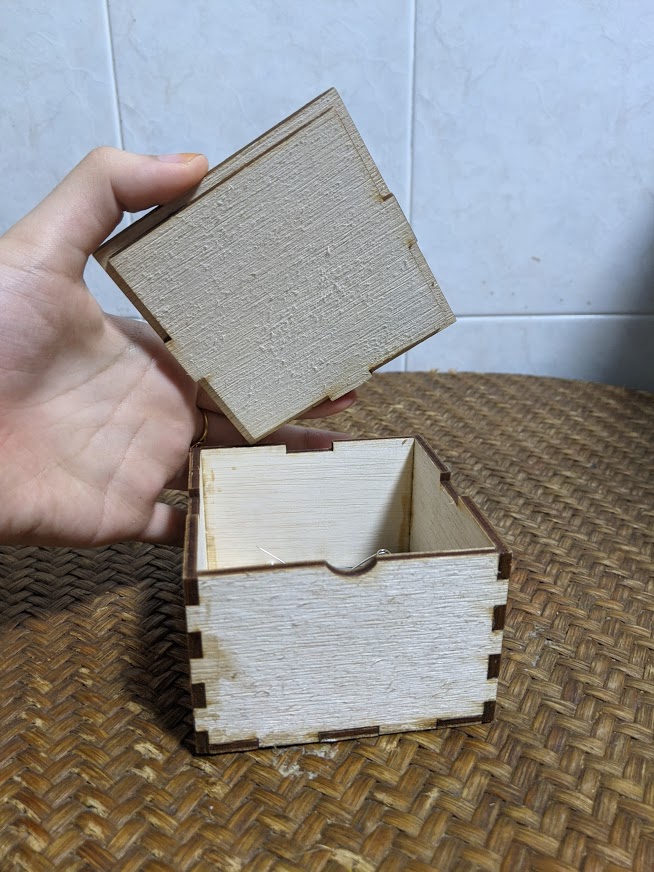
And now the box can be assembled and done! |
|||||||||||||
| |
|||||||||||||
 |
 |
||||||||||||