3D Printing
For this assignment, we were to develop a 3D Autocad file of a knight chess piece. This chess piece is hard to create on my own, thus with the help of a template from google, I can upload the template onto Autocad and sketch out following the outline of the template using lines, arcs, and more using the "Create" function in a sketch. I used below template as my base for my sketch. As i prefer to not copy it completely, i changed the shape and size accordingly. |
||
| |
||
 |
||
| |
||
Before i start my sketch, i have to set my parameters to 50mm by 35mm so as to ensue the chess piece is not too big. Once sketched, I start to sketch the outline of the knight piece and the base which will act as a stand for the piece. The knight head will be extruded to 6mm so there will be some extra material for me to fillet later on. The base will be revolved and hollow. This is to ensure that i save on material and the piece would not be too heavy. |
||
| |
||
 |
||
| |
||
| Once I've extruded the knight head and revolved the base for the piece, i proceeded to fillet the sides so the piece would not be too sharp and instead, will be smooth. This goes for both the base and also the knight head. | ||
| |
||
 |
 |
 |
| |
||
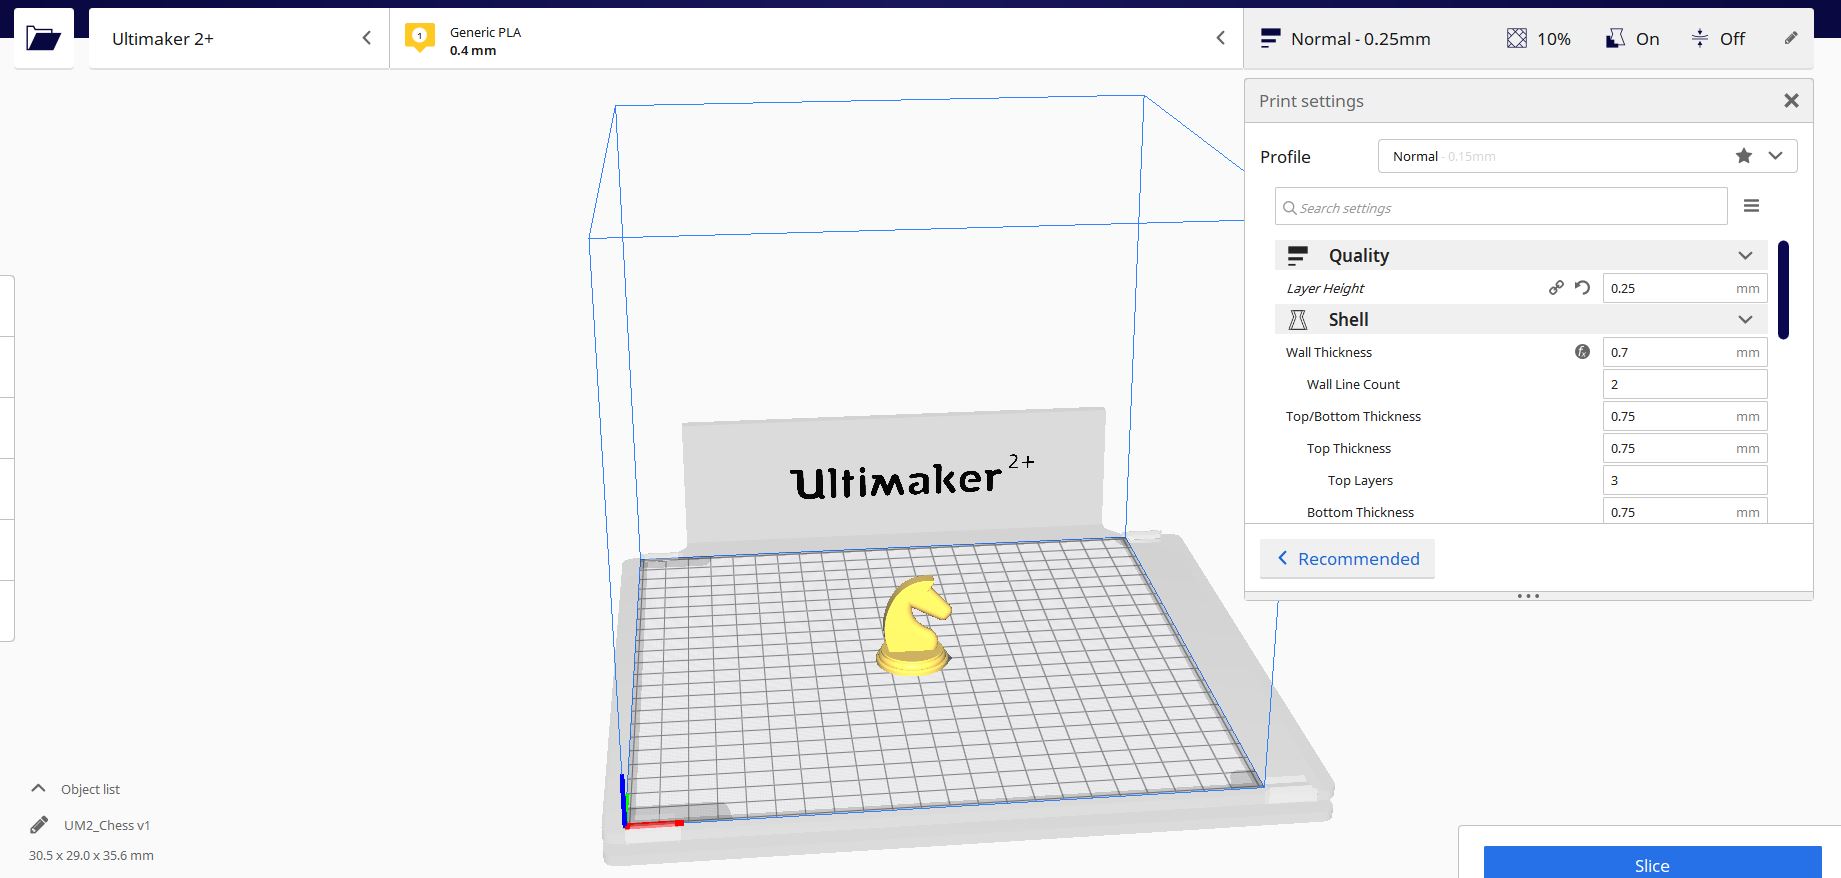
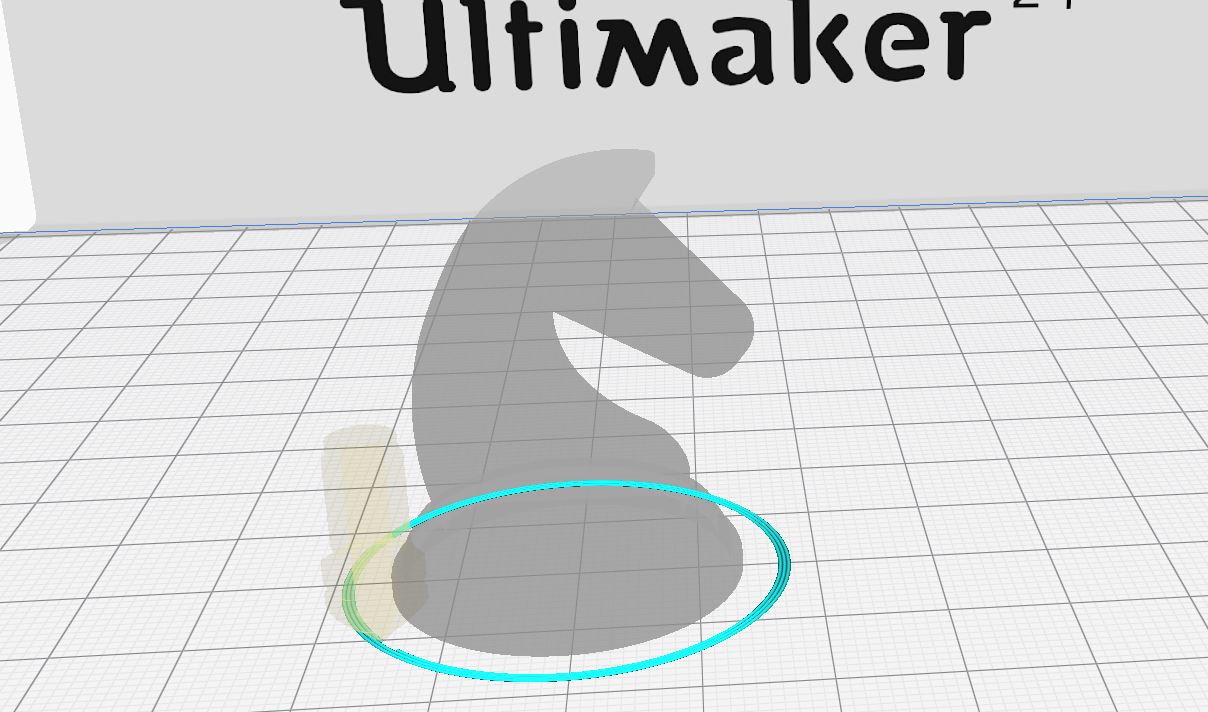
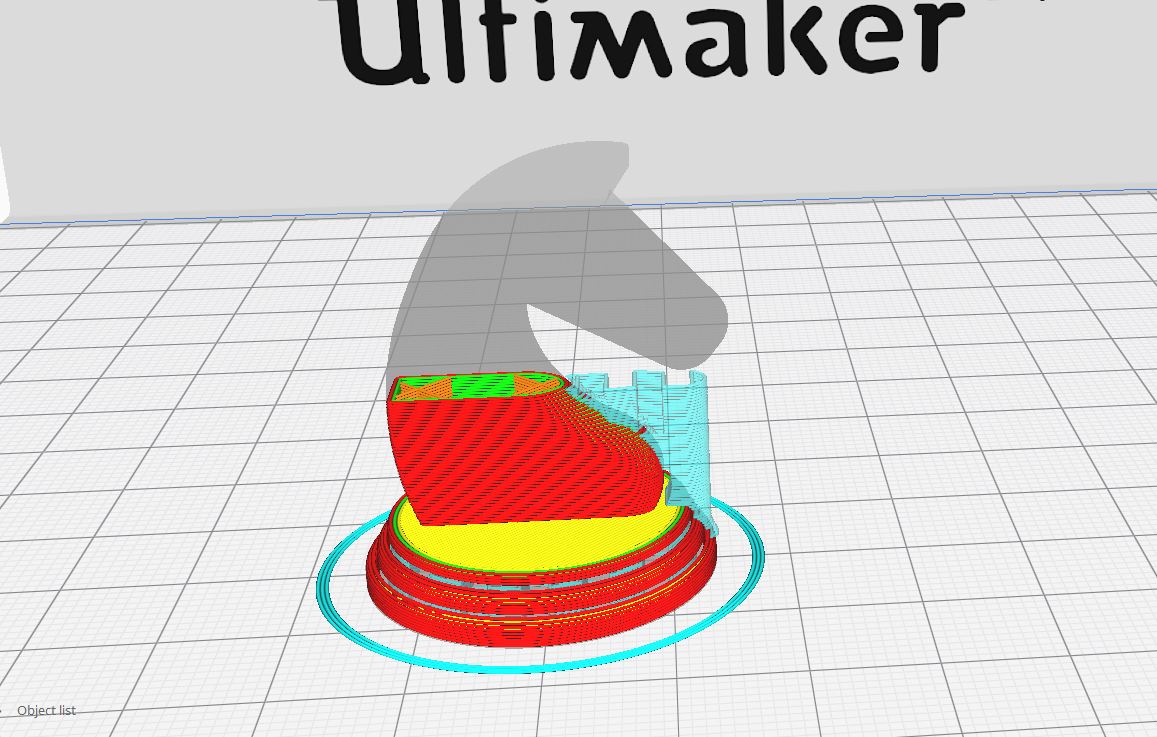
| Once my piece is done, i then proceeded to bring it over to Ulitmaker Cura, which I've downloaded on my desktop. This will aid me in the 3D printing process and i get to choose the settings for my piece. The printer would be Ultimaker 2+, and I edited the settings as per my preference. I also added support for my piece and the knight head needs a support from the bottom. Otherwise, the head may not be printed correctly. Shown below are the previews of my knight piece. The first is before slicing the piece, the second is when the piece is sliced and is shown to have a border for the piece. The third shows the 3D printing process from top to bottom. Here we can see the extra support I added. |
||
| |
||
 |
 |
 |
| |
||
| I then proceeded to the workshop to print my piece. These are the pictures I took: |
||
| |
||
 |
 |
 |
| |
||
| I made the mistake of filleting the corners too much for the base, thus Ultimaker Cura created a support to connect the top piece to the base. Thus the grid support in the middle that is printed. |
||
| |
||
 |
 |
|
| And the end product is this! |
||
| |
||
| |
||